In this article, I’m going to show you how to create a free blog with blogger.com. This is a 100% free solution to get free website hosting and even get a free domain name with subdomain dot blogspot.com and I’m going to show you how to not only set this up but do some customization so it fits your needs. So let’s start.
Step 1 – How to Create a Free Blog With Blogger.com
How to create a free blog: To start off simply just go to blogger.com and with your and click on create your blog then sign in to your google account.

Then choose the name for your blog. In our case we gonna choose GeekyPooran as a blog title.

Go ahead and click on next and then you get your free domain name URL so it’s going to be something.blogspot.com. We gonna choose geekypooran.blogspot.com.
Read Also: Which is the best freelancing website in 2022

Our Blog is Ready.

Step 2 – Choose A Theme
Now click on theme and choose any theme which you like and then click on apply. Your theme is applied successfully and now you can go to your blog and check how it looks like.

Step 3 – Choose a Custom Domain
In case you want your own custom domain like .com then you can buy domains from there. Just go to the setting and publishing section where you can find an option custom domain and you can buy your own domain with free hosting.

Step 4 – Start Writing Article
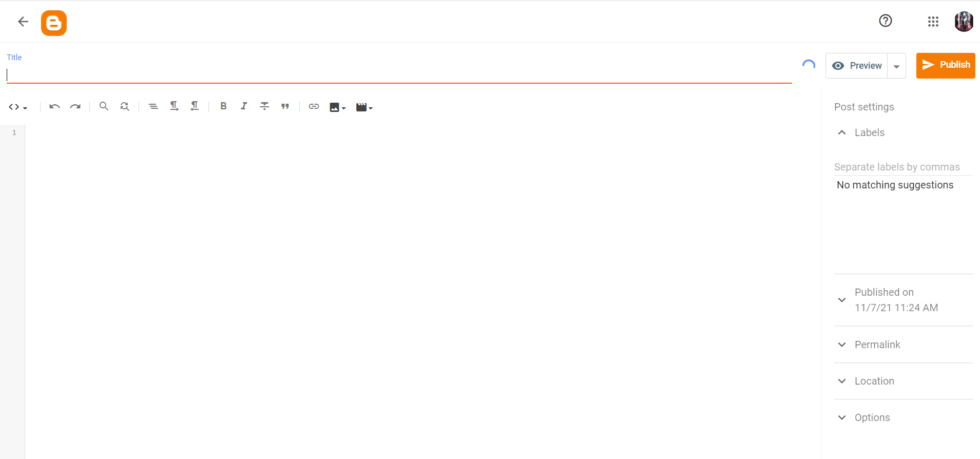
Now your blog is ready and now you can start writing your own article. Just click on the new post and set the title for your article and below you can write content for your article. You can use images and heading and lots of other things to create your article attractive and readable. Then click on publish and your article is successfully published.

